
How to Clean Your Refrigerator Condenser Coils in Overland Park, KS
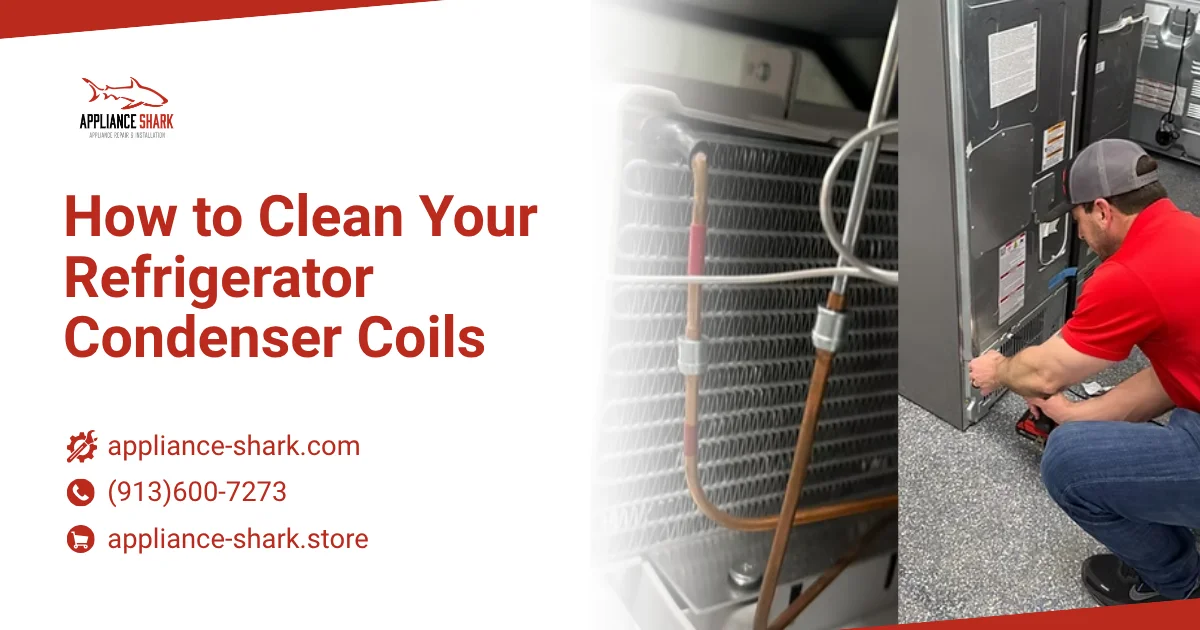
Refrigerator condenser coils cleaning involves removing accumulated dust, pet hair, and debris from the coils that release heat as refrigerant cycles through the system, and it’s a maintenance task most homeowners can perform with basic tools. For anyone in Overland Park, KS looking to keep a refrigerator running efficiently, understanding this process can help reduce strain on the compressor and support more consistent cooling performance. This guide walks through the tools needed, safety steps to follow, and how coil location differs across common refrigerator brands.
Beyond routine maintenance, refrigerator condenser coils cleaning is also relevant when troubleshooting issues like refrigerator food spoiling too quickly, since restricted airflow around dirty coils can sometimes contribute to inconsistent cooling.
Key Takeaways
- Refrigerator condenser coils cleaning is a routine maintenance task that can help the appliance run more efficiently over time.
- Refrigerator food spoiling too quickly is sometimes linked to dirty coils restricting proper heat exchange.
- A refrigerator compressor not working is a more serious issue that coil cleaning alone typically cannot resolve.
- Coil location varies by brand and model, so identifying where they’re situated is an important first step.
- Basic household tools are usually sufficient, though safety precautions matter before beginning the process.
Why Condenser Coil Maintenance Matters
Condenser coils release heat from the refrigerant as it cycles through the cooling system. When coils are coated in dust or debris, the refrigerator has to work harder to move that heat away, which can increase energy use and, over time, put additional strain on the compressor. This is one reason refrigerator condenser coils cleaning is often recommended as routine maintenance rather than something to address only after a problem develops.
Connection to Cooling Performance
Refrigerator food spoiling too quickly is occasionally linked to dirty coils, since restricted heat exchange can prevent the unit from maintaining a consistently cold interior temperature. While this isn’t the only possible cause, it’s a reasonable factor to rule out before assuming a more significant mechanical failure.
Tools You’ll Need
Refrigerator condenser coils cleaning generally requires only a few accessible tools:
- A vacuum with a hose attachment or a narrow crevice tool
- A long, flexible coil brush, designed specifically to reach between coil fins
- A flashlight, for visibility in tight or dimly lit spaces
- Work gloves, to protect hands from sharp coil fins or dust buildup
Most of these tools are inexpensive and available at hardware or home improvement stores. A specialized coil cleaning brush isn’t strictly required, since a narrow paintbrush or a bottle brush can sometimes work as a substitute, though a purpose-built coil brush tends to reach further between fins without bending them.
Safety Steps Before You Start
Before beginning refrigerator condenser coils cleaning, a few safety precautions help reduce the risk of injury or appliance damage.
Unplug the Refrigerator
Always disconnect the refrigerator from its power source before accessing the coils. This eliminates the risk of electrical shock and prevents the compressor from cycling on while you’re working near internal components.
Allow the Unit to Settle
If the refrigerator has been running, giving it a few minutes to settle before moving it away from the wall can reduce the risk of spills from stored food or accumulated condensation.
Be Cautious Moving the Unit
Refrigerators are heavy, and pulling one out from the wall can strain flooring or damage water lines connected to an ice maker. Moving slowly and checking for a water line before pulling the unit out is a reasonable precaution. Placing a towel or furniture slider beneath the front feet can also make the process easier on both the flooring and your back.
Step-by-Step Cleaning Process
Step 1: Locate the Coils
Coil location varies by refrigerator design, covered in more detail in the next section. Locating them correctly before starting saves time and avoids unnecessary disassembly.
Step 2: Remove the Access Panel, If Applicable
Many refrigerators with bottom-mounted coils have a removable grille or access panel at the base of the unit, usually secured with clips or screws.
Step 3: Vacuum Loose Debris
Using a vacuum with a hose attachment, remove the bulk of visible dust and debris from the coils and surrounding area before using a brush for finer buildup.
Step 4: Use a Coil Brush for Detailed Cleaning
A flexible coil brush can reach between fins that a vacuum attachment might miss. Gentle, consistent strokes help avoid bending or damaging the thin coil fins, which can affect airflow if bent out of shape.
Step 5: Vacuum Again and Reassemble
A final pass with the vacuum removes dislodged debris before reattaching any access panels and returning the refrigerator to its position. Waiting a few minutes before plugging the unit back in isn’t strictly necessary, but it allows any lingering dust in the air near the coils to settle first.
Coil Location Differences by Brand
Understanding where coils are located is a key part of refrigerator condenser coils cleaning, since the process differs depending on the model.
Bottom-Mounted Coils
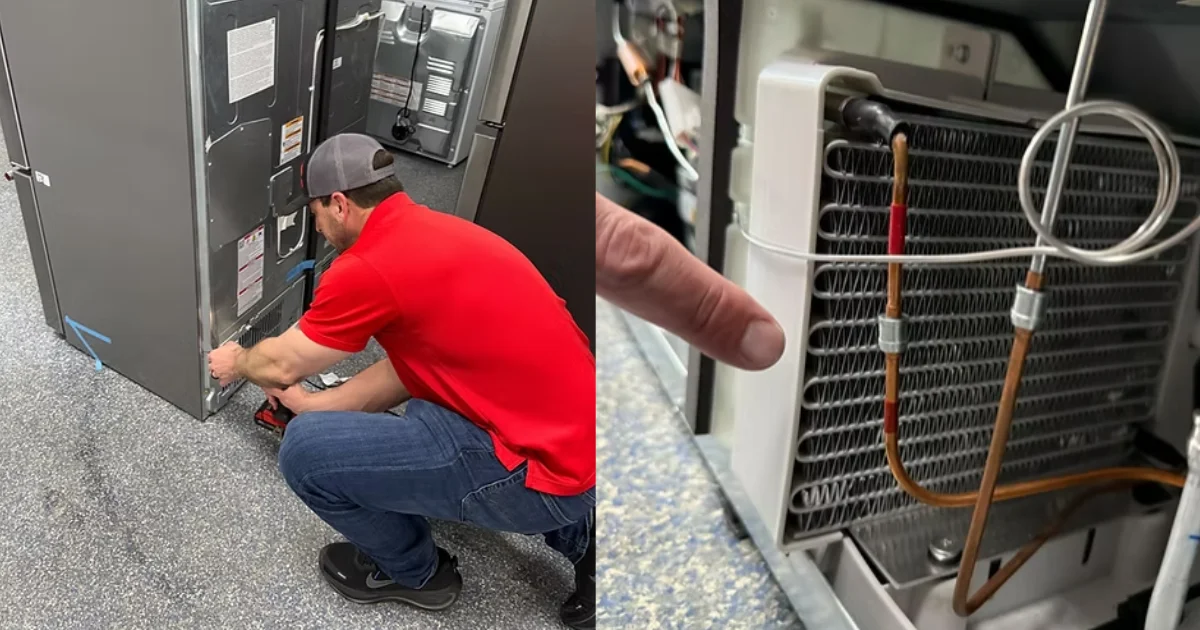
Many newer refrigerators, across a range of brands, place condenser coils behind a removable grille at the base of the unit, accessible from the front without moving the appliance.
Back-Mounted Coils
Older refrigerators, and some models still in production, position coils on the rear exterior of the unit, visible once the refrigerator is pulled away from the wall.
Checking Manufacturer Guidance
Since coil location and access methods vary, checking the refrigerator’s manual or the manufacturer’s website for model-specific guidance can help confirm the correct approach before starting. If the manual isn’t available, most manufacturers post digital copies online searchable by model number, which is usually printed on a label inside the refrigerator door or along the interior wall.
Book a Refrigerator Repair Now!
How Often to Clean Condenser Coils
Most manufacturers and appliance technicians suggest refrigerator condenser coils cleaning roughly every six to twelve months, though homes with pets or higher dust levels may benefit from more frequent attention. Bottom-mounted coils in particular tend to accumulate debris faster, since they sit closer to the floor where dust and pet hair are more concentrated.
When Cleaning Isn’t Enough
While refrigerator condenser coils cleaning addresses a common and preventable cause of inefficient cooling, it doesn’t resolve every issue.
Refrigerator Compressor Not Working
A refrigerator compressor not working is a more serious concern that coil cleaning alone cannot fix. If the refrigerator remains warm after coils have been thoroughly cleaned and given time to run, this points toward a compressor, thermostat, or other internal component rather than coil buildup.
When to Consider Professional Help
If refrigerator food spoiling too quickly continues after coil cleaning, or if a refrigerator compressor not working is suspected based on unusual noise or a complete lack of cooling, a professional diagnostic visit is a more appropriate next step than continued DIY troubleshooting. A technician can test compressor function directly, which isn’t something that can be confirmed through visual inspection alone.
Conclusion
Refrigerator condenser coils cleaning is a straightforward maintenance task that can support more efficient cooling and reduce unnecessary strain on the compressor over time. While dirty coils are sometimes connected to refrigerator food spoiling too quickly, a refrigerator compressor not working generally points to a separate and more involved issue that cleaning alone won’t resolve. Understanding the tools, safety steps, and brand-specific coil locations covered here supports a more informed approach to routine refrigerator maintenance for Overland Park homeowners, and can help identify early when a professional opinion is worth seeking.
Not Sure What’s Causing the Problem?
If you’ve gone through the basics and refrigerator condenser coils cleaning hasn’t resolved cooling issues, or if you’d rather have a professional diagnose the problem before it leads to further food loss or higher repair costs, a diagnostic visit is a practical next step.
The team at Appliance Shark serves Overland Park and the broader Kansas City metro area, with experience across refrigerator brands and common repair scenarios, including refrigerator food spoiling too quickly and a refrigerator compressor not working. If you’re ready to get a technician out to take a look, you can Book a Repair directly, no commitment required until you’ve reviewed the estimate and decided how you’d like to proceed.
If the assessment indicates the appliance is beyond cost-effective repair, that’s useful information too. You’re welcome to Visit our Appliance Store to explore replacement options, a straightforward next step if a new refrigerator turns out to be the more practical choice.